Starting a home garden is an exciting and rewarding journey. Whether you’re dreaming of fresh vegetables, vibrant flowers, or lush greenery, it all begins with properly preparing your nursery and garden beds. A healthy nursery gives your plants the best start, while a well-chosen garden bed layout maximizes your space and ensures optimal growth.
In this guide, we’ll walk you through the steps to create a robust nursery and explore the different types of garden beds that can transform your space into a gardener’s paradise.
How to Prepare a Nursery for Your Home Garden
A nursery is where your plants get their start, and it’s vital to create the right conditions for seeds to germinate and grow into strong seedlings. Here’s a step-by-step guide to preparing a nursery for your home garden:
1. Choose the Right Location
The first step in preparing your nursery is to pick a suitable spot. Your nursery should be in a well-lit area, preferably where it gets indirect sunlight for several hours a day.
- Tip: If you live in a hot climate, ensure your nursery is shaded during the hottest parts of the day to prevent scorching.
2. Prepare Seed Trays or Containers
You can use seed trays, small pots, or recycled containers for your nursery. Seed trays are especially efficient as they have individual cells for each seed, making transplanting easier.
- Tip: If you’re reusing containers, make sure they are cleaned and sterilized to prevent diseases from affecting your young plants.
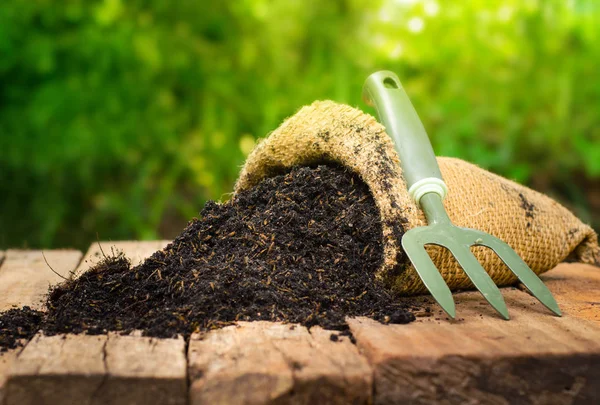
3. Choose the Right Growing Medium
The soil in your nursery needs to be light, airy, and well-draining. Avoid using garden soil directly as it may be too heavy or contain pests. Instead, use a mixture of:
- Peat or coconut coir for moisture retention
- Vermiculite or perlite for aeration
- Organic compost for nutrients
- Tip: You can purchase organic seed-starting soil mixes or create your own to provide the best environment for germination.
4. Planting Seeds
Follow these steps for planting seeds in your nursery:
- Moisten the Soil: Before planting, make sure the soil is damp but not waterlogged.
- Sow the Seeds: Sow the seeds according to the instructions on the seed packet. Some seeds need to be placed deeper than others, so read the packet carefully. Generally, plant seeds at a depth of 2-3 times their size.
- Label the Trays: Don’t forget to label your seed trays, especially if you’re planting multiple varieties.
- Cover the Seeds: Gently cover the seeds with soil, ensuring they are well-insulated.
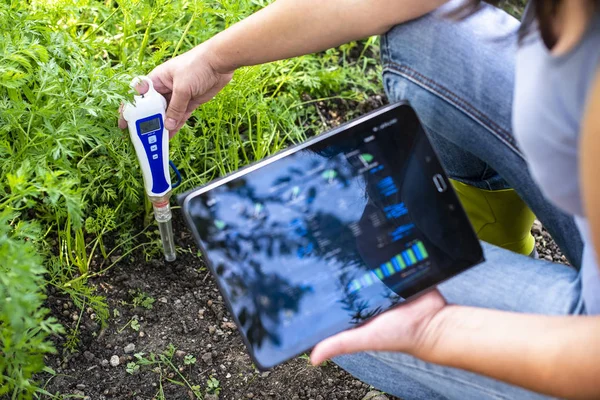
5. Provide the Right Growing Conditions
Your seeds will need consistent warmth and moisture to germinate. Depending on the plant type, temperatures of 18-24°C (65-75°F) are ideal for most seeds.
- Cover with Plastic: To create a mini-greenhouse effect, cover your seed trays with clear plastic wrap or a propagator lid. This helps maintain humidity.
- Watering: Use a fine mist to water your seeds, ensuring you don’t wash them away. Keep the soil moist, but avoid overwatering as it can cause mold growth.
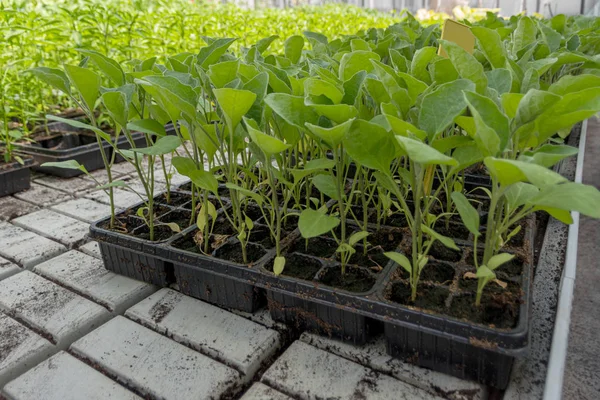
6. Care for the Seedlings
Once the seeds sprout, remove the cover and move the trays to a brighter location where they get more sunlight or artificial light. Make sure the seedlings are not crowded and have good air circulation to prevent mold or fungal diseases.
- Tip: When the seedlings have grown a few true leaves, thin them out by snipping weaker ones to allow stronger plants to thrive.
7. Transplanting
When the seedlings are strong enough and have a healthy root system, it’s time to transplant them to your garden beds or larger containers. Harden them off by gradually exposing them to outdoor conditions over a week before planting them in their final location.
Best/Efficient Garden Beds for Your Home Garden
Once your seedlings are ready for transplant, the next step is selecting the right type of garden bed. Garden beds offer many benefits such as better soil control, efficient water use, and reduced soil compaction. Here are some of the best and most efficient types of garden beds for home gardens:
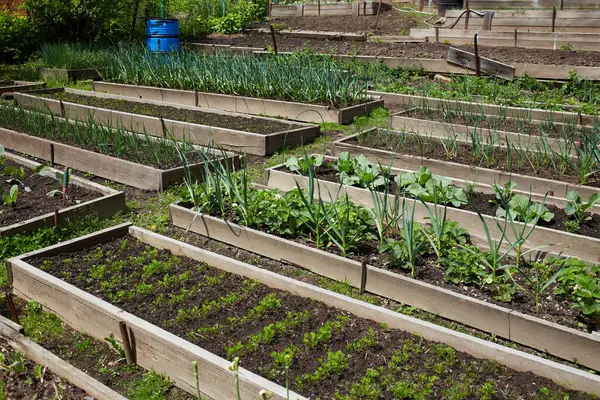
1. Raised Garden Beds
Raised garden beds are incredibly popular and for good reason. They are easy to maintain, offer excellent drainage, and can be filled with high-quality soil. These beds are perfect for both small and large spaces.
- Why They’re Efficient: Raised beds allow you to grow more in less space by planting closer together. They also reduce the need for bending over, making gardening more comfortable.
- Materials: You can make raised beds from wood, metal, or stone, depending on your style and budget.
- Tip: Cedar wood is a great option for raised beds as it’s naturally rot-resistant.
2. Square Foot Garden Beds
Square foot gardening is a method where your garden bed is divided into a grid of square feet, with each square growing a different type of plant. This is an efficient use of space and is great for urban gardens with limited space.
- Why They’re Efficient: This method allows you to grow a variety of plants in a small area while ensuring each plant has enough space. It’s also ideal for beginners who want an easy system to follow.
- Tip: Use a 4×4 raised bed and divide it into 16 squares, each measuring one foot by one foot. Each square can be used for different plants, from herbs to veggies.
3. Container Gardens
For those with limited space or who are gardening on a patio or balcony, container gardening is a perfect solution. Containers come in various sizes, allowing you to grow anything from herbs to tomatoes.
- Why They’re Efficient: Containers are portable, allowing you to move plants around to take advantage of sunlight or protect them from weather changes. They also allow you to manage the soil and watering needs easily.
- Tip: Use large, deep containers for root vegetables like carrots and smaller pots for herbs like basil.
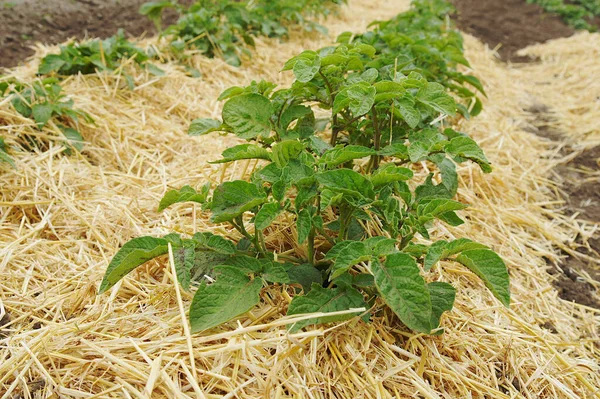
4. Hugelkultur Beds
Hugelkultur is a permaculture method where a bed is created using layers of logs, branches, compost, and soil. The decomposing wood provides nutrients and retains water, reducing the need for irrigation.
- Why They’re Efficient: Hugelkultur beds are self-sustaining, as the rotting wood holds moisture and slowly releases nutrients to the plants.
- Tip: Start by laying large logs at the bottom of the bed and pile organic material like leaves, grass clippings, and compost on top. Finish with a layer of soil and plant directly in it.
5. Vertical Gardens
If you’re really short on space, vertical gardening is the way to go. You can use vertical structures like trellises, wall-mounted pots, or hanging baskets to grow a variety of plants.
- Why They’re Efficient: Vertical gardens make the most of small spaces by growing upwards instead of outwards. They also help with air circulation and reduce soil-borne diseases.
- Tip: Vertical gardens are great for trailing plants like cucumbers, peas, and even strawberries.
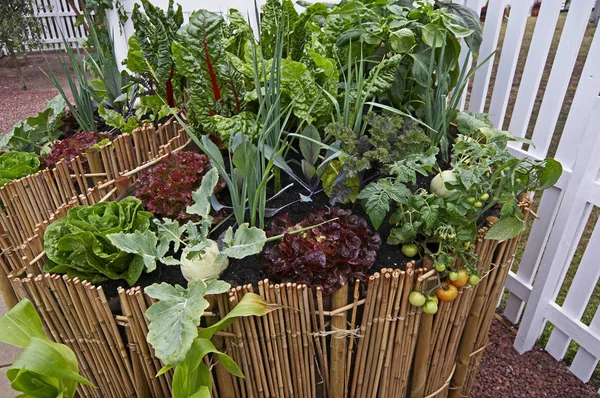
6. Keyhole Gardens
A keyhole garden is a circular raised bed with a composting basket in the center. The bed slopes inward towards the basket, allowing compost to feed the surrounding plants.
- Why They’re Efficient: Keyhole gardens are designed to be highly productive while conserving water and maximizing space.
- Tip: This method is great for regions with hot climates or where water conservation is a priority.
Conclusion: Ready, Set, Grow!
Now that you know how to set up a nursery and choose the most efficient garden beds, you’re one step closer to creating the garden of your dreams. Whether you’re growing vegetables, herbs, or flowers, having a strong start with your nursery and garden bed set-up will ensure success. Keep your tools handy, and let your gardening journey begin!